Here’s our 5-step process for designing and installing lab automation


We frequently partner with labs looking to improve the results they get from their automation or even just make the equipment more usable, and we’re able to do that because we’ve assembled a cross-functional team of people who look across the entire process to provide a solution. And yes, every lab is a little different, but the process to get a thoughtful solution in place isn’t.
Here's an overview of our 5-step process to ensure that every lab we work with gets the right devices, software, and support to automate their science.
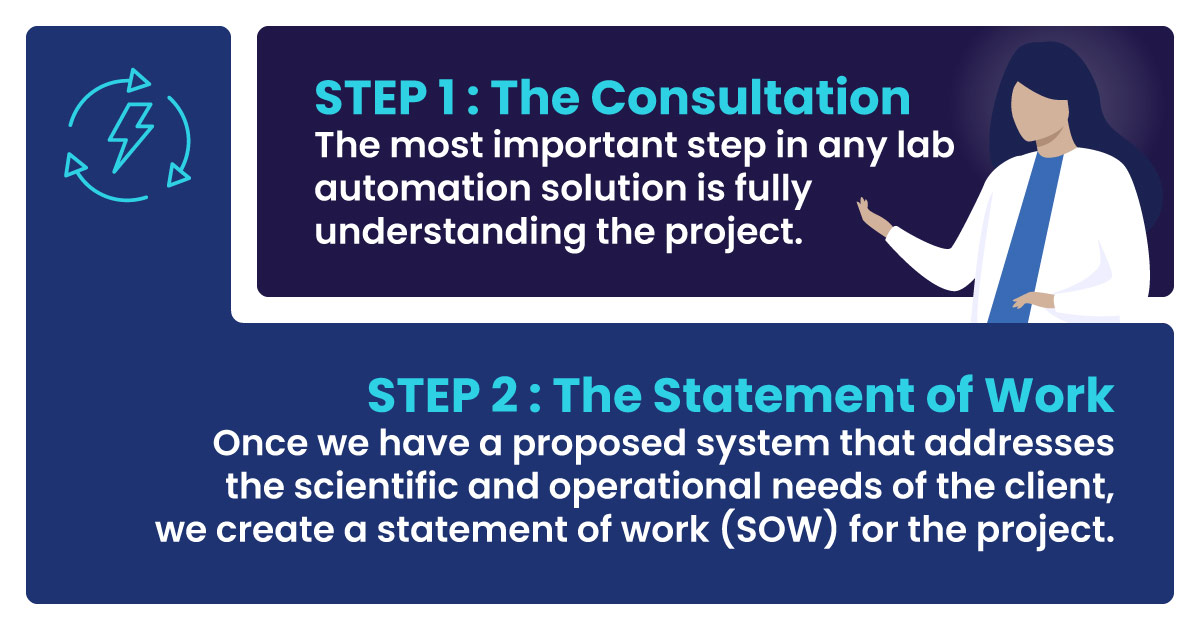
Step 1: The Consultation
The most important step in any lab automation solution is fully understanding the project. Often times the lab is looking to be more efficient, but that can mean different things to different labs. So, together with the lab, we work through a series of topics to make sure that we have a clear picture of the need.
Topics we cover during consultation conversations
- Project parameters, goals, and KPIs
- Budget requirements
- Space constraints
- Risks, concerns, and potential pain points
- Detailed workflows of the assays to automate and an understanding of the larger scientific goals of the project
- Type of user interaction—More hands on or remotely controlled?
- Level of user skill—Programs ready to run out of the box or advanced programmers who will tinker with the code?
- Preference on devices and software—Whether the lab already owns the equipment or it needs to be purchased?
- The needs of the current project and how it’s likely to grow and change over time—automation often changes like the science changes, and we want to help plan for the future
With that information, our team of skilled account managers, applications scientists, and automation engineers can come back to the lab with a plan.
Here’s what we typically include in an automation plan:
- A list of software and hardware needed to make the workcell come to life
- A 3D-rendered mockup of the workcell, showing access points for robotics and humans, to help visualize the solution in space
- Throughput and capacity of that workcell
- Labware and consumables required
- Integration solutions like tables, storage, and lighting to help the workcell fit into the lab with people who have ergonomic requirements
- Estimated timeline to realize the projects as defined
The automation plan is the key starting point for a discussion. We can talk about the goals of the project and how the proposed system might help the lab get there, making changes as needed to help close in on the ideal setup. Once we settle on a solution, the next step is to document it very clearly for everyone involved. 
Step 2: The Statement of Work
Once we have a proposed system that addresses the scientific and operational needs of the client, we create a statement of work (SOW) for the project.
The SOW is a detailed description of everything that needs to be done to get the system up and running. It covers details about which standard operating procedures and experimental processes will be automated.
Also included are any connections that need to be made with building management systems including the use of utilities such as air, nitrogen, water supply, vacuum, electrical power supply, and solvent delivery systems, as well as links to any required containment systems, waste systems, fire suppression systems, and other infrastructure required for running experiments in the lab. The SOW also covers the validation criteria needed for the system which is typically captured in more detailed Factory Acceptance Test, Installation Acceptance Test, and Site Acceptance Test Documents.
Assuming everything checks out and both Biosero and the lab are both in agreement on the detailed statement of work, this is the point where the lab sends us a purchase order and we actually begin to bring the system to life.
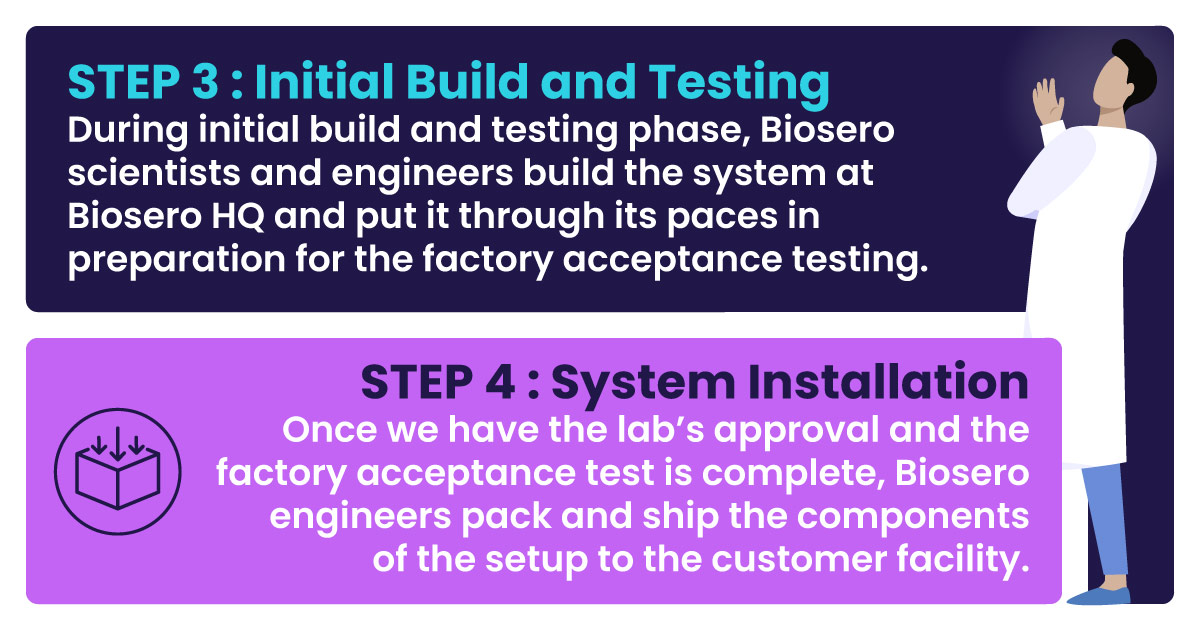
Step 3: Initial Build and Testing
During initial build and testing phase, Biosero scientists and engineers build the system at Biosero HQ and put it through its paces in preparation for the factory acceptance testing. We order and assemble all parts of the system, plus program Green Button Go to connect all the elements. Key stakeholders from the lab are welcome to join us onsite to see the solution in person and running with the goal to ensure that the lab’s goals are met. The digital designs for the system become a reality.
At this point, the lab can ask us any questions or suggest changes. It’s an opportunity to work out problems or add and test new components that are not already incorporated in the plan. The last thing we want to do is ship a system to its new home and realize too late that a critical component is missing. It's much easier to address these changes during testing before the system leaves our site. The final milestone of the build and testing phase is to validate the system works as intended prior to leaving our facility through the Factory Acceptance Test. We perform this validation test in coordination with the customer to ensure that the system is ready for shipping to the customer site. 
Step 4: System Installation
Once we have the lab’s approval and the factory acceptance test is complete, Biosero engineers pack and ship the components of the setup to the customer facility. They also travel to the client’s site to handle the installation, validation, and testing as part of the site acceptance testing. It is our responsibility to make sure all the equipment arrives safely, gets properly installed, and that the system works exactly the way it did during testing in our factory.
In addition to installing the system, our engineers are responsible for making sure that scientists know how to operate the automated setup and get fully trained on the interaction points with Green Button Go software. We confirm that all connections among the automation software, robots, and instruments function as expected, and also check digital connections with existing systems including laboratory information management systems, electronic laboratory notebooks, and asset management systems. Once the system is installed at the customer’s site a formal Site Acceptance Test will be performed by Biosero with the customer to ensure the system is now working as intended in its final location at the customer site.
Scientists typically have their own rigorous scientific validation protocols for ensuring that the new system works as it should and that their experiments produce accurate results on the automation. While this scientific experimentation validation on the workcell is the responsibility of the scientists Biosero remains engaged to ensure the automation is working as intended and can help to optimize the system and processes where needed.
Step 5: Production

This is when all of our hard work and collaboration starts to pay off. Scientists now have a fully functional automated infrastructure that they are using to run experiments. At this point, Biosero engineers become a support system for the scientists. Biosero is available to perform routine system maintenance and update the automation software so the system runs with the latest features and functions. The Biosero team is also there for the long-term to update systems to support scientists as their priorities and objectives change.
Designing and implementing a new automation system is a collaborative process that requires input from each lab and from the Biosero account managers, engineers, scientists, and customer support teams. And while the systems we build often differ from lab to lab, the process that we use to successfully bring the project together remains the same. It’s an approach that makes sure that our customers have solutions that fit their needs for the years to come.
Get help launching automation for your lab
If you want help implementing automation in your lab, let's connect.


Want to automate smarter, not harder? Join the Biosero newsletter and stay in the loop with the latest lab automation strategies, success stories, and product updates.

